Sunday, December 14, 2014

These Are Not the Donors You Are Looking For


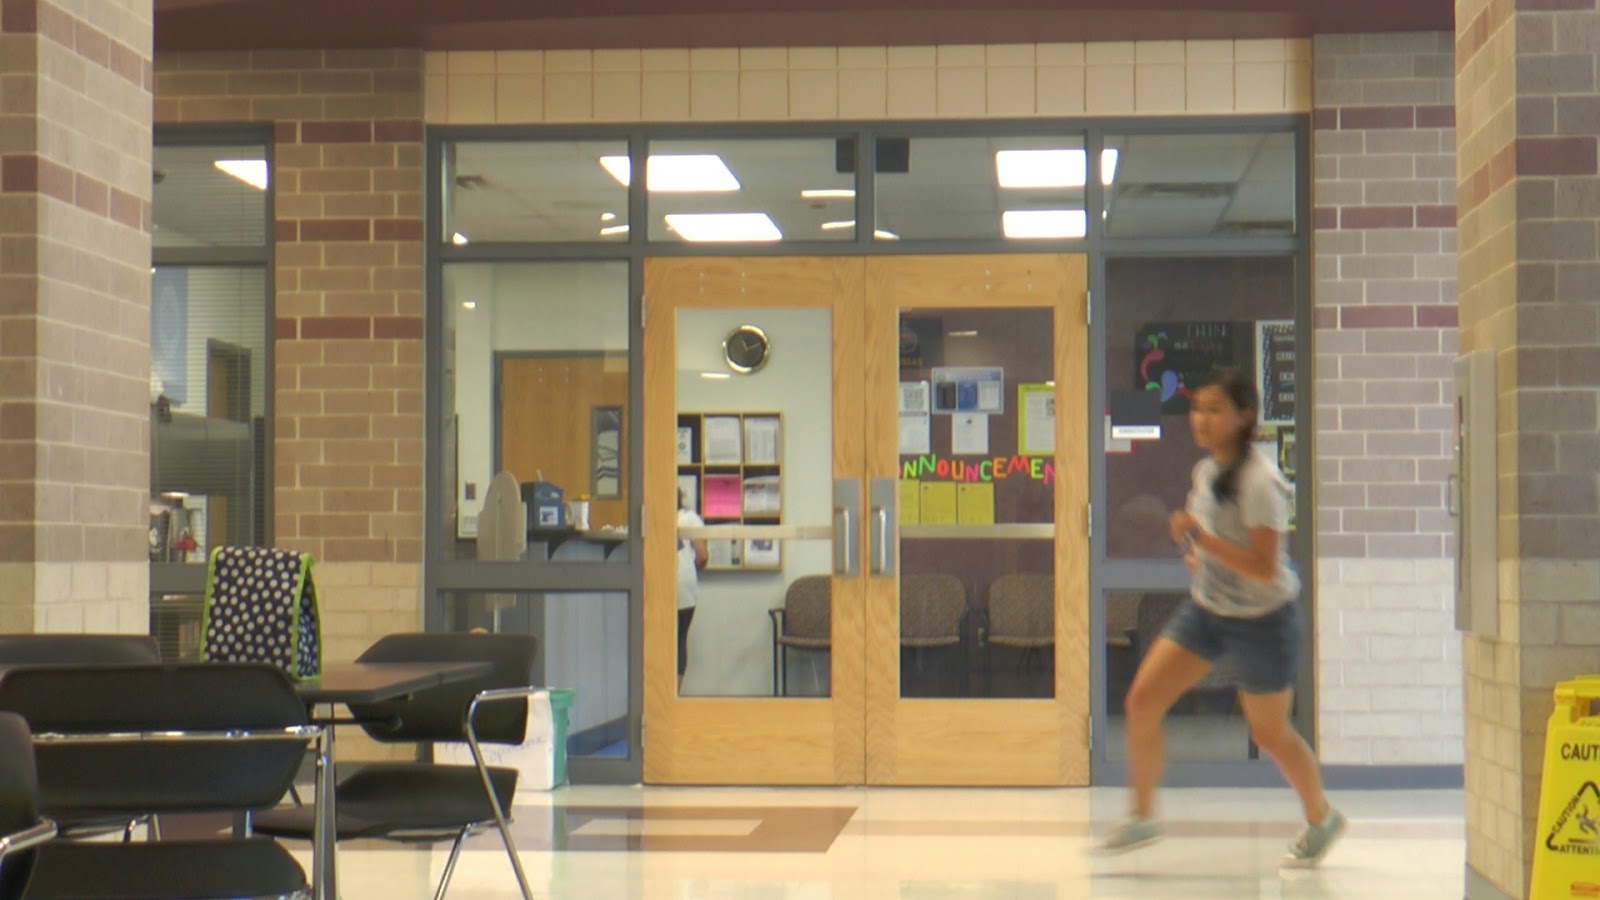
In Video class we were assigned to make unscripted videos where we will film and interview one person about what they are doing. The goal is to create a story. In our first project we were assigned partners and had to film them building a Star Wars Lego Spaceship. We were also assigned to film the ONW Blood Drive.

My Process-                                                               Lego Project:
These kinds of project does not require you to storyboard. It is unscripted with live action. While filming, I tried to get all six shots. This project was difficult because I didn't know what was going to happen and how the footage would turn out.

What did I learn?-
These assignments taught me a lot about unscripted filming. When filming, you couldn't have a tripod. I learned how to hold a camera steady and keep me balance. I learned how to stand close to the person your filming. This allows you to hear the subject when he/she is talking and to get good close-ups. In the editing stage we learned how to do J and L edits. J and L edits are when you take a clips of video or audio and overlap them making a J or an L. Nat noise is also required in this project. It makes the video seem more real and helps the audio flow together. All this helped me create my lego project below.

What would I do differently?-
The Lego project was harder than I would have expected. Looking back on my footage I realized, I didn't hold the camera steady enough. This made is hard to find good shots of of my subjects I was filming. If i got the chance to redo these assignments I would have gotten more of a variety of shots. In my Blood Drive video, I didn't get the chance to film my subject donating any blood. This made it hard for me to create an ending in my store. My solution was to make the very last shot of my video turn into  a horror film. I also would have asked more questions. In my Lego project I didn't ask enough questions while filming. This caused my video to have a lot of voice overs in it. I believe fixing these problems will make my videos more professional and interesting to watch.

What would I do the same?-                                      Blood Drive:
Out of my two projects, I would keep the interviews I did in the Blood Drive project. My group had to share a camera. Unfortunately, we didn't get to finish filming but, we decided to take all of what we filmed and combined it. This made my Blood Drive video more interesting because it showed the thoughts and opinions of multiple people at the blood drive.

What experiences will you draw from to enhance your next project?-
These assignments have taught me many things about unscripted filming. I will remember to ask more questions to my subjects. I will also remember to manage my time and make sure I get enough footage.  I will learn from the mistakes to make my next video even better! This will make my future videos look a lot more professional.

Saturday, November 22, 2014

A Hike For Food

The class was assigned to make a 2-D animation with three different shots. In order to create this animation, we had to combine everything we learned from the past assignments. When brainstorming for story, it is important to think of an idea that is not too complex as it would take too long to make. I started doodling characters on a piece of paper and tried to get inspired. I personally liked my drawing of a bunny. It was simple and I thought I could create a good story inspired by that drawing. I decided to make my bunny try to pull a carrot out of the ground. When he does, things get more complicated.The carrot will fly onto the mountain behind him forcing himself to climb the mountain to get the carrot. Once I planned that out onto my storyboard, I was ready to start the project. First, you had to scan your drawing of your character onto the computer. Then you must color it on Photoshop. Also you have to create the background settings on Photoshop. After this, you get to drag the layers of your character into Adobe After Effects. This program allows to move your character and make the story you want. You use key points to help position or rotate your characters. I learned how to make pre-compositions. They help you stay organized with all your layers. I had to make sure that all the compositions were put in the right place so that each clip would move nice and smooth. I also learned something about myself. I am a perfectionist. Usually that's a good quality to have but in this case, it kept me from completing my project on time. Project deadlines are very important. You can't become a professional animator without completing your work on the day it is due.
If I could redo this assignment, I would look back at my leg compositions and change it so that you can't see the top of the back leg when it goes up. I would also make sure all my layers of my character in Photoshop have a completely deleted background, While editing my animation, I noticed that some of my layers still have little spots from the white background. I think doing this will make my animation look better and more professional.
I would keep my story the same. I like how it is creative and simple. I would also keep my character the same. My bunny is a simple character and goes with my story very well. I like my close-ups of bunny's arms pulling the character. I think it is a cool shot and helps the viewer focus on what the bunny really wants.
 This experience has made me a better animator by pointing out what I need to work on for our next project. I am one step closer to becoming a true animator and reaching my goal.
I will take what I learned from this assignment and use it for our next project. I loved this activity and can't wait to do the next one!

Tuesday, November 4, 2014

Break Free


Our assignment was to create a music video. The video would have to tell a story and last at least ninety seconds. It also had to go along with the music and made sure the shots went with the beat. We had to think of these things before we started story-boarding.

Our group decided to use Ariana Grande's song Break Free. We used beat sheets to brainstorm idea's of what we wanted our song to be about. We watched music videos related to Break Free and pulled out ideas. We thought it should be about bullying and how the person getting picked on finally fights
back and break's free. We also created mood sheets, a collage of pictures that was supposed to show the mood of your video. This process gave us a general idea of what we wanted our video to be about and we were ready to storyboard. While story-boarding you have to think of the six shots and the 180 degree rule. Our group formed a group message on our phones and organized what we would film each day. This process made things a lot more easier and I felt my group was ready to film.

I learned many important things throughout the process of filming. On the days our group was filming, we had strange rainy weather. This was a problem for our lighting. The shots became yellow and dark. I learned that it is important to shoot your scenes in an environment that has good lighting. I also learned that it is important to not have any continuity errors otherwise, the viewers will become confused and not know what is going on. In our editing stage I learned how to show multiple shots at once. This gave my video a dramatic effect.
I felt that my group worked well together. We communicated outside of school to help us stay on task. We worked very hard on this video while also having a lot of fun!

If I had the chance to redo my video I would definitely film more shots. In the stage of story-boarding we edited to the lyrics instead of the beat and that messed me up later while editing. I would also redo the first super hero shot and find a way to make it look more dramatic. While planning this video we originally wanted a silhouette shot of us superheros but; it came out too dark and ruined the scene. I would redo any shots that were darkened from the weather to make the lighting better.
I would keep our story in the video the same. I believe it went well with the song. I also would keep i the flashback shots in the video because it added to the effect. I was very cool the way each shot changed with the beat. I would keep the shot of Jessica running toward Eric, the villain about to punch him in the face and the shot right after that  where it shows her hand punching Eric in the face. The two shots were the view points from the villain's eyes to the superhero's eyes. I believe these shots were the best out of all and I would certainly keep them.

This assignment was very informational. I learned about digital effects when editing such as; showing multiple shots on a screen a once and adding a slow motion effect. I learned how to give a shot the ghost effect and make it look see-through. I also learned how to add markers to the beat of the music. This helps me when transitioning from one shot to another. I will use my new skills for our class's next project.

It was very fun to film this project. I learned about teamwork. I also learned some new effects I can use on Final Cut Pro. The whole experience has taught me a lot and I can't wait to use what I learned on our next project!

Tuesday, October 7, 2014

Toto, I Think We're Still in Kansas

The Multi Layer project taught me a lot about time management. I was using my class time working on the details of the background. This was confusing to me because I made too many layers.  I learned how to make each background layer's speed different. I also learned that when making a character move in your setting, it is important to make sure your layers of the background are moving. Otherwise, it becomes a continuity error. This project was a lot of fun. I believe the information gathered from this experience will help in our next class project.

Monday, October 6, 2014

Henry The Alligator


My character is an alligator named Henry. I decided that he should look "cartoony", so I drew him with sharp edges. I wanted him to be different from other normal alligators, so I drew a stylish poke-dot bow tie for him. He doesn't act like all the other alligators. Henry likes to look on the bright side of things, he always has a big grin on his face. Henry loves to dance and dreams of becoming a famous dancer.

During this project, I had difficulty in making the feet move. My original drawing had the feet pointed outwards. I realized having the feet like that would cause my character to walk like a penguin. I had to go back into Photoshop and flip the second foot horizontally. Once I did that, I went back into Adobe Aftereffects to start creating the key-frames which made my character move.


The Key-frames record what ever you do to the character. The first step is to place your character where you want it to start. Then press the icon that looks like a stop watch labeled Position. This will make a key-frame appear letting you know that this step has been recorded. The next step is to drag the bar to the timeline where you want to have the character move. After that, you move your character to the place you want it to be. This is recorded making a key-frame appear where you dragged your bar out. When making feet move, you have to make key-frames that make the foot go up, out, and back to the original place. The great thing about key-frames is once you put the whole rotation of the foot stepping, you can copy and paste the key-frames.


I learned that visualizing your character walking, before you draw him, can help you catch mistakes like the toes being pointed outward. I learned that you must make key-frames carefully, One mistake can ruin the whole animation. I also learned about keeping your pace during these projects. I was falling behind the class because I was focusing on coloring the character in and giving him detail. If I could redo this assignment, I would make Henry the Alligator dance across the screen. That was my original plan, but I didn't have time to do it in the end. Overall, I am really happy with my character and I hope you are too! 

Tuesday, September 30, 2014

Plausible Impossible

In this picture Dopey is swallowing soup that Snow White made for the seven dwarfs. When he does swallow his head squashes down then back up. The plausible is if you swallow your food your head will some what follow your food down your neck. In reality our heads are not flexible so they can not squash down but this is impossible because he can squash his head when swallowing.
This picture shows Dopey slurping in the soup. He is holding it away from his body though yet still slurping it into his mouth. The plausible is if you sucking hard enough then the soup will slurp right into your mouth without you holding the spoon to your  mouth. The reality is you must hold your food to your mouth in order for you to eat it but impossible because he can actually do it holding the spoon away from his face.
The seven dwarfs are trying to get the soap and spoon out of Dopey. They decide to open his mouth and reach in to grab it. While doing so Dopey hiccups and causes the spoon to float out of his mouth in a bubble. Th plausible is if you swallow soap, then some other object and hiccup the object will float out of your mouth in a bubble. The reality is if you swallow soap and an object you will not have them floating out of you. The impossible is in this film you can hiccup and have your swallowed object come back up.
This image shows Dopey who just swallowed the bar of soap. Once he does Dopey starts to hiccup bubbles. The plausible is if you swallow a whole bar of soap then you will hiccup bubbles. In reality no one can swallow a bar of soap whole and if they did they would not be able to hiccup bubbles. The impossible is in this film everyone can do that and start hiccuping causing bubbles to come out of your mouth.


This picture shows the seven dwarfs trying to get the soap and spoon out of Dopey's mouth. Happy kicks Dopey to make the soap and spoon fly out of his mouth. The plausible is if Happy kicked Dopey hard enough, then the soap and spoon will come out of his mouth. In reality you can't get any item out of you by having someone kick you from behind. The impossible is that this is what happens in the scene.

Thursday, September 25, 2014

Scooby Doo: The Chase


The goal of the project The Chase was to have one character be chased by something else. My partner and I did not come up with a lot of ideas on the spot. We both decided to choose what kind of conflict we wanted for the video, We needed to decide if it would be man vs man, man vs nature, or man vs self. We then based our video ideas off of that conflict we chose. The next day we both came to class with a few ideas of what to do for our project. We both liked the idea of Scooby and Shaggy being chased by a monster so, We started story-boarding. Throughout the process of story-boarding, I was checking to make sure we had all six shots and didn't go over the 180 degree rule. It was then time to film.

Throughout this project I learned the value of teamwork. I missed two days of filming due to the flu and then my partner missed the next day. It was a struggle to catch up with the other groups and finish filming but; we pulled together as a team. We finished it by the deadline. I also learned that your shots have to have a flow to them. When filming,  your shots need to flow from scene to scene. I switched a few of my shots because I thought the order did not go well with my music I added. These experiences have helped made me a better videographer. 

If I had the chance to redo this assignment, I would fix my continuity errors. The person who played Scooby Doo changed outfits in the middle of the video. There was also one shot that was a close up of Scooby and Shaggy that was not focused on their faces. Next time I would make sure to watch out for details of each shot. I would keep the way I filmed the first shots with the flashlight shining into the camera. It added a cool effect. I would also keep the running shots. I thought it was creative the way we had silhouettes of Scooby and Shaggy running. I thought I did a good job coming in late and leaving early. I would also keep my dramatic twist of having our video teacher be the monster.  

For my next project I will continue to think outside the box and be creative when filming. I believe that all ideas are good ones because it just might be the weird idea that makes your video unique and creative. I will also make sure to pay attention to all detail to avoid continuity errors. 

I thought this project was super fun and can't wait to gather what I learned to make my next project even better! 

Friday, September 5, 2014

Hunger Games


Extreme Close-Up: It shows more detail.
 Close Up: It shows emotion the subject is feeling.


Extreme Wide Shot: Gives the setting of the scene. It also shows the viewer where the subject is.


Middle Shot: It shows the subject from the waist up. Provides emotion and detail.


 Over the Shoulder Shot: Gives the viewer a look at what the subject is doing. Makes you feel like your right behind the person.


Wide Shot: Shows some of the subjects setting.        

Wednesday, September 3, 2014

Inch Worm


In eComm we created an animation of an inch worm scooting across the grass. We used Photoshop to design the worm and grass then, opened both up in Adobe After Effects. It was there we used the keyframes to make our inch worm move.

Tuesday, August 26, 2014

Bouncing Ball

In Animation we were assigned to create a video of a ball bouncing. We created a horizon line using Photoshop and made a sphere with special effects. We then used keynotes to record the actions our ball made. Once we finished, we saved it and opened it on Adobe After Effects. The purpose was to show how After Effects is more efficient than Photoshop when making this video. On After Effects you are able to add to your actions making your ball look more natural when bouncing. I found that making the ball bounce at a consistent pace and slowly stopping was easy. Once you start adding the special effects of making the ball's guide lines arc and having the ball squash/stretch when coming up from hitting the floor, it gets a little tougher. After following the instructions, I ended up with an animated video of a ball bouncing that looked natural and was pleasing to the eye.  

Fales Carrots


 While filming my video I learned about the many different shots you can take while filming. These shots can not only make your video look more professional but it also adds to the meaning of each clip. I also learned that short clips of the subjects doing individual jobs in the video make the viewer more interested in what your showing. If you record the subject the whole time then your video is boring and your viewer will lose interest. 

I will use this new information when ever I film. It will help me make my video's more clean and professional. It will also help me keep the audience interested in what I am showing.